
Fat Bike Tire Studs
1 product
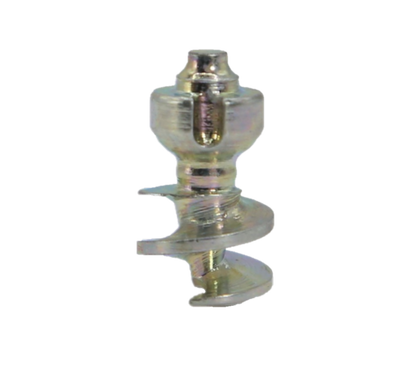
Grip Studs® fat bike tire studs are up to the task of managing even the iciest terrain. This capable tire stud with its solid tungsten carbide shaft prevents spinning out on ice and snow all season long. Its unique wide–auger design installs easily with a cordless drill without tedious gluing or complicated techniques, and it stays put like no other screw–in stud. Grip Studs® shallow auger depths work in many fat bike tires, they are easy to install and are easy to remove at season’s end if desired.
