Grip Studs® Easy Installation
Step 1
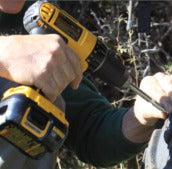
Insert install tool into variable speed power drill. Never use an impact driver.
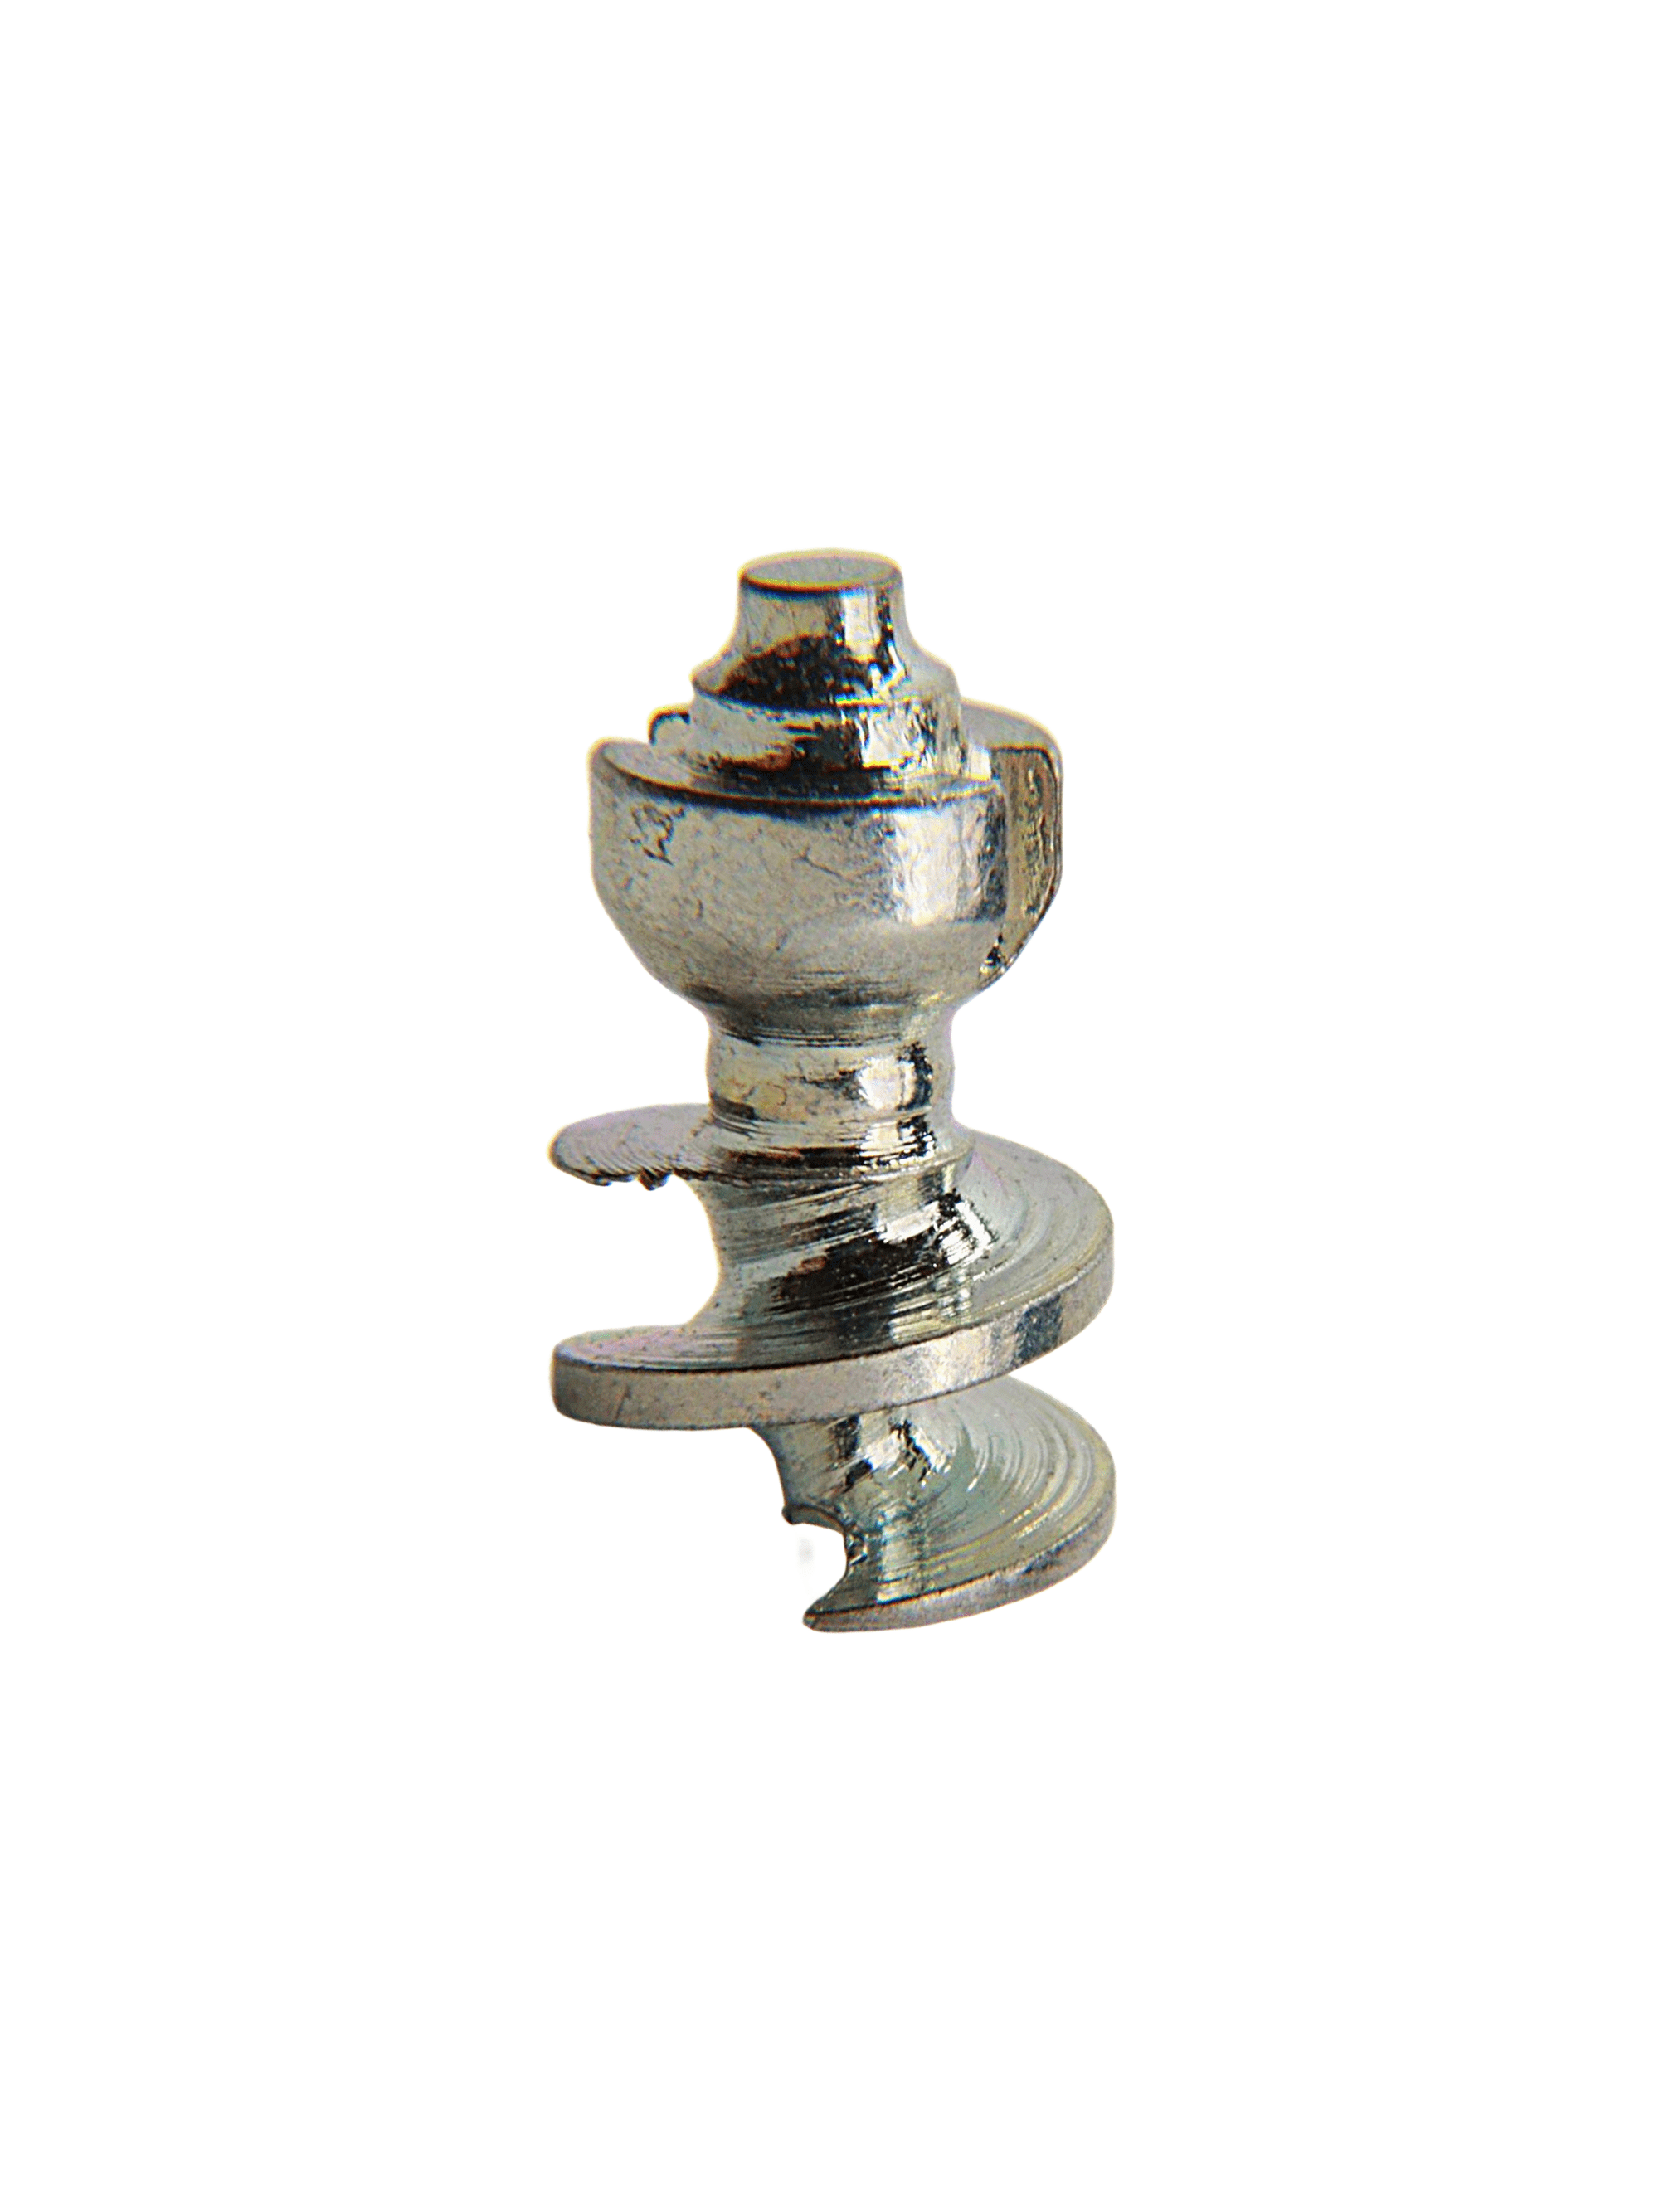
Snap a stud into the tip of the install tool (auger end facing outward).
Step 2
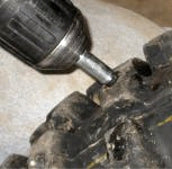
Position end of the stud's auger firmly against a thick knob of the tire. Firmly apply pressure straight down while slowly screwing the stud into the knob until the prongs on the tool penetrate the rubber.
The notched collar on the stud should be flush with the rubber. Studs may come out if they are not adequately sunk into the rubber.

Step 3
Remove tool from the stud.
Repeat the process with remaining studs. For optimum traction, install studs in a varied pattern (not in a straight line) along the tire so the studs can make better contact with the terrain.
Caution!
Do not continue to tighten studs once installed. Over-rotation may cause lacerations in the rubber. If damage occurs from over tightening, the stud may not be positioned correctly. Incorrect positioning may result in stud falling out during use.
For proper installation, always remember:
into the rubber.
Watch the Grip Studs® TIRE Installation Video
WATCH THE GRIP STUDS® Running Shoe Installation Video
Watch the Grip Studs® Wading Boot Installation Video
INSTALLATION INSTRUCTIONS: Always check tire tread depth before installing Grip Studs®. Attach install tool to variable speed drill. Snap a stud into the tip of the install tool. Position stud firmly against a thick knob of the tire tread. Firmly apply pressure straight down while slowly screwing the stud into the tire until the prongs on the tool are buried into the rubber. Remove the tool from the stud. The notched collar on the stud should be flush with the rubber. Studs may come out if they are not adequately sunk into the rubber. Repeat procedure for all studs. For optimum traction, install studs in varied pattern (not in a straight line) on the tread so the studs can make better contact with the terrain. Caution: Studs may damage or mar floors, truck beds and other surfaces.