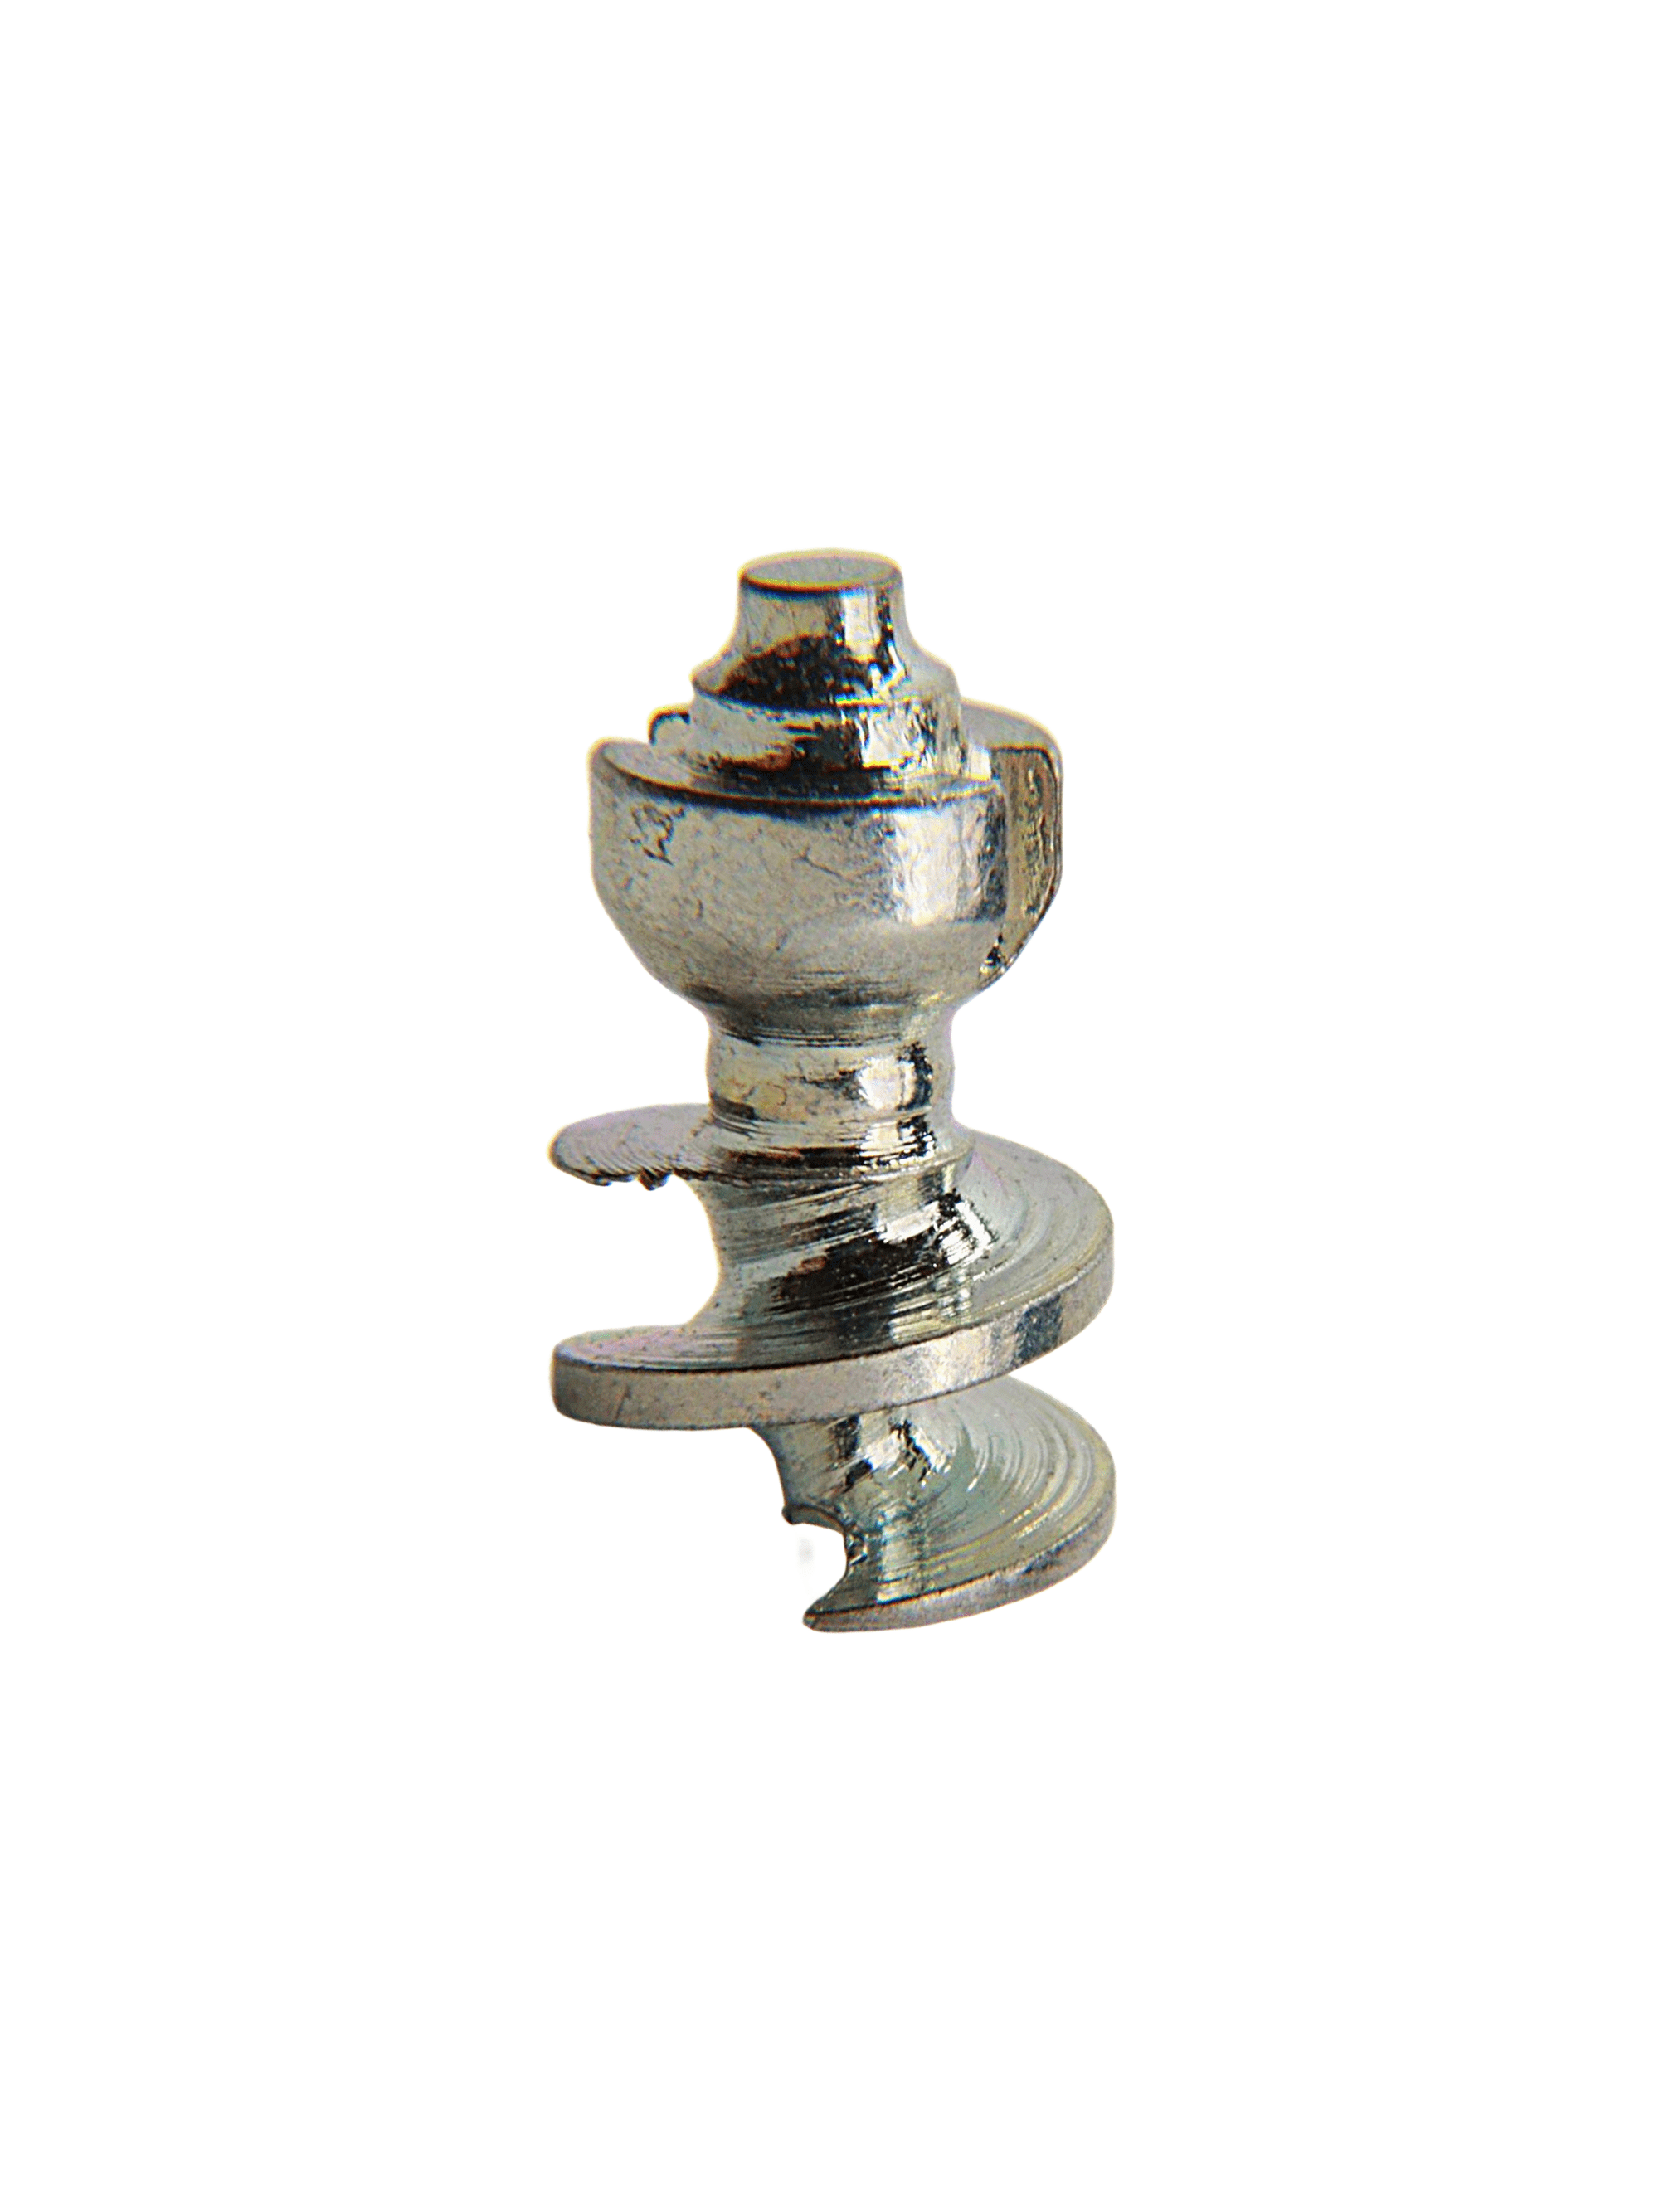
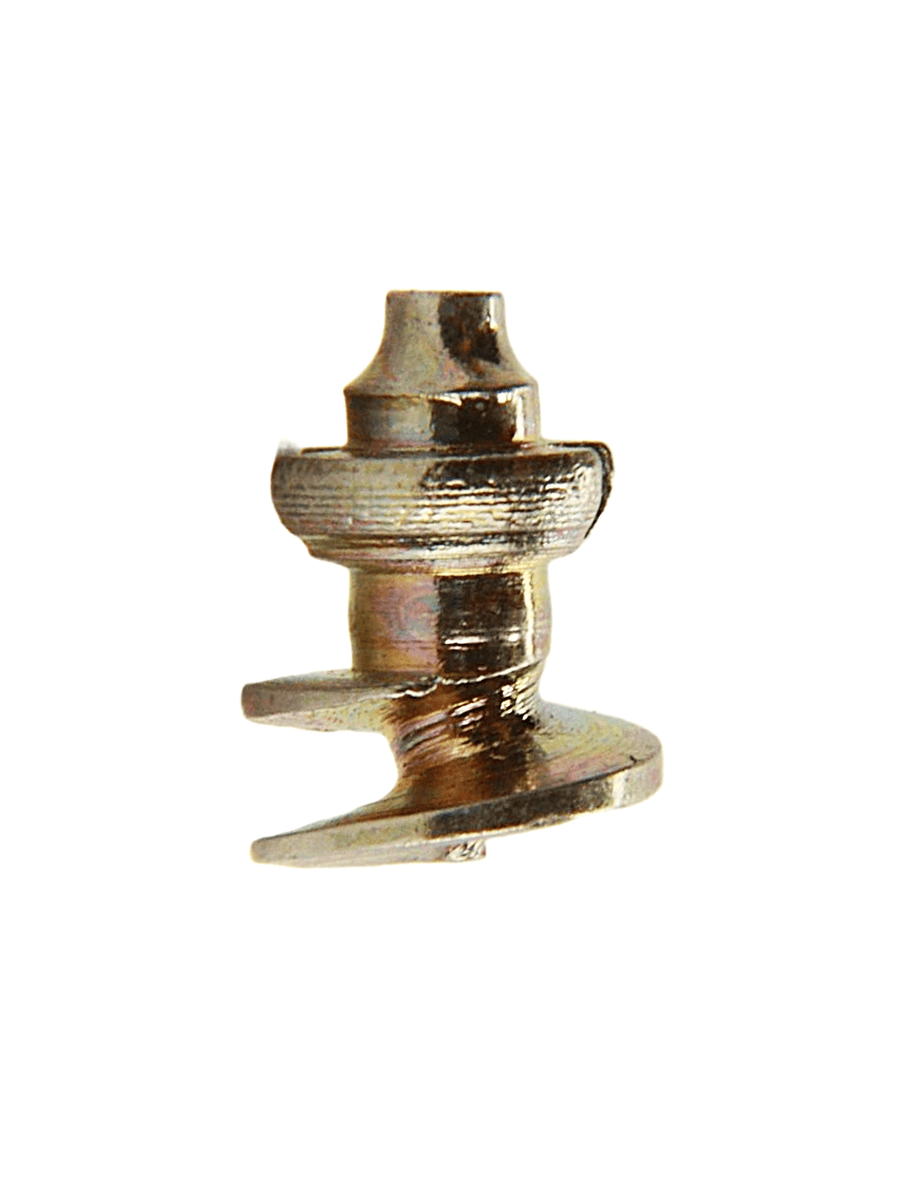
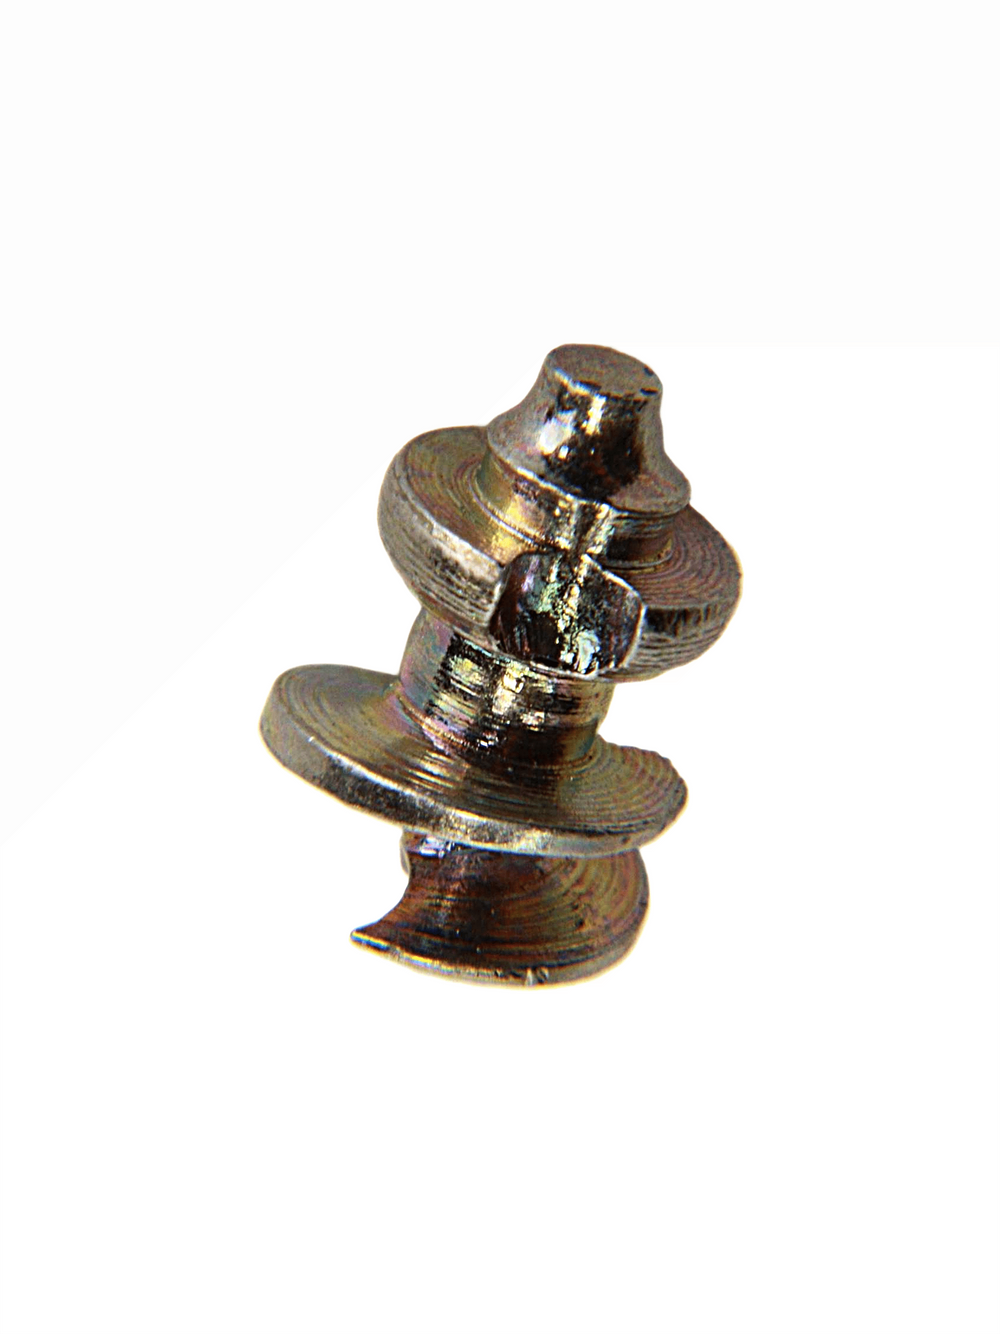
Transform your running shoes with Grip Studs® to secure your footing while running on slippery roads and trails! Grip Studs® solid tungsten carbide shaft and stay-in wide auger design ensure dependable traction in even the most treacherous outdoor conditions, extending your training season to a full 12 months. Easy to install or remove with the manual or power tool.
Read More
Run Confident, No Matter the Conditions
Snow-packed sidewalks. Icy trails. Frozen gravel roads. Winter running comes with risks—but that doesn’t mean you need to sit it out. Grip Studs® give your running shoes the traction they’re missing.
These lightweight, low-profile studs screw right into your favorite trail or road runners—so you can keep logging miles even when the forecast says freeze.
-
Stay upright on slick roads, icy sidewalks, and frozen trails
-
Push your pace without worrying about traction
-
Train consistently through winter with dependable grip
-
Keep your natural stride with studs that won’t weigh you down
Whether you're chasing a personal record or just trying to keep your base miles up through winter, Grip Studs® help you run with confidence and control.
Because you don’t stop moving when the weather turns—neither should your shoes.
Shop Studs by Footwear
Why Grip Studs vs. Other Studs?
Real traction. Real results. Built for what you do.
When it comes to slick rocks, shifting surf, or rugged trails, you need traction that won’t quit. Grip Studs® are purpose-built for serious performance in the real world—where weather, terrain, and reliability matter most. Here's how we stack up against the rest:
-
Tungsten Carbide Power
Every stud packs a punch with a solid tungsten carbide core—delivering long-lasting grip on rock, mud, and ice, season after season.
-
Lock-In Fit That Doesn’t Back Out
Whether you're hiking switchbacks, fishing riverbanks, or trekking through the surf, our studs stay snug. No wiggling loose, no popping out mid-adventure.
-
Reusable. Removable. Ready When You Are.
Swap them out, move them between gear, or reinstall seasonally—Grip Studs give you flexibility without sacrificing hold.
-
Oregon-Based Support Since 2009
We’re here when you need us—with real people, real answers, and a commitment to keeping you safe and moving.
Trust what works. Grip Studs® are the go-to for adventurers, pros, and anyone who refuses to stay inside when conditions get tough.
Stud Maintenance Tips
Keep your studs gripping like new.
Grip Studs® are built tough, but like any good gear, a little upkeep goes a long way. Follow these quick tips to extend the life of your studs and get the best performance every time you head out:
-
Rinse Off Grit and Salt
After a muddy hike or saltwater session, give your boots or gear a quick rinse. Grit and corrosion can shorten stud life if left unchecked.
-
Check for Wear
Take a look at the tungsten carbide tips now and then. If they look rounded off or overly worn, it might be time for a refresh.
-
Use the Right Tool
Always install or remove your studs with our Grip Studs® tool. It’s designed to seat them just right—no stripping, no slipping.
Pro tip: Keep a few extra studs and your install tool in your gear bag to help your friends out when they can't keep up with you anymore.